This will be brief but (excuse me for saying so myself) a cool little blog post about getting started with virtualization. We’ll quickly create our own little machine where you can install any software you might find useful.
We’ll install Ubuntu. Why? Because it’s free and cool.

Virtualization?
Simply put, virtualization software enables us to create virtual machines. This means we can use one real, physical computer to run several operating systems, isolated from others, every single one on its own virtual machine, which means using Virtualization we are simulating real hardware. It may be somewhat difficult to explain, but let’s get into an example and you’ll get it immediately.
VirtualBox
As the VirtualBox homepage says, VirtualBox is an X86/AMD64/Intel64 virtualization platform. Let’s not get into much, theory. Instead, let’s just download VirtualBox. If you’re using Linux make sure VirtualBox matches the kernel architecture.
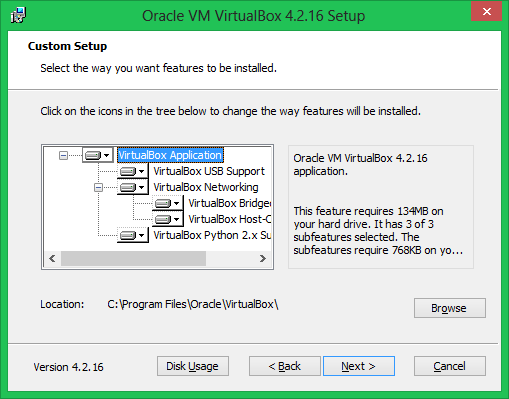
When the download completes, install VirtualBox just as you would install any Windows or Linux program.
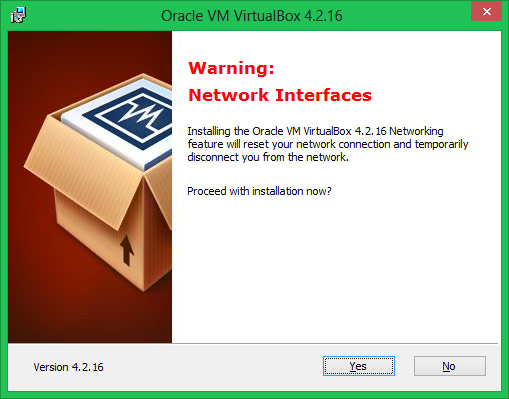
Oh, yeah, you’ll be briefly disconnected from the Internet, but you can easily live with that. Right? Right?
All right then. Finish the installation and let’s run VirtualBox.

Nothing there. As VirtualBox itself says, we haven’t created any virtual machines yet. We’ll do that later. Now, let’s see what VirtualBox is all about.
Getting Ubuntu
Getting Ubuntu is really easy. You need to download the Ubuntu desktop from the Ubuntu home page. Why the desktop and not the server? Well, it is simpler to install and I did cover the Ubuntu server.
When you download the ISO file open VirtualBox again and click on the “New” button to create a Virtual Machine. It asks you for the Name and Operating system. Enter any name you wish and select Linux -> Ubuntu.
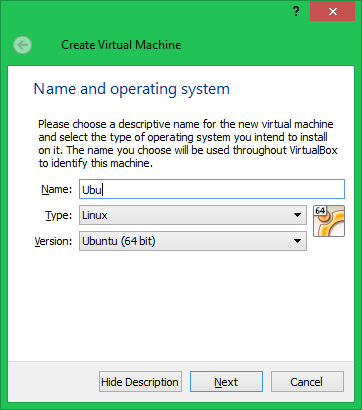
As a matter of fact, when you start typing “Ubuntu”, the drop-down box will change automatically.
Next, VirtualBox will ask you for the amount of memory and recommend 512 MB. The Ubuntu System Requirements tell us that’s fine. On the next screen, just select “Create a virtual hard drive now“.
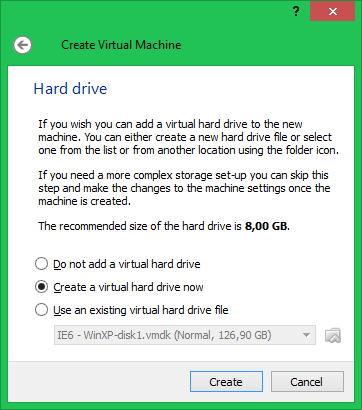
After this, simply leave the first option checked, as you don’t need to use the new drive with other virtualization software.
On the next screen, you can go either way, the options are presented clearly. If you don’t have much free space, choose dynamic, as fixed will immediately create a file large as the disk size. So, if you, for example, select fixed and choose the recommended 8 GB size, you’ll be left without 8 GB immediately. However, with dynamic, the operating system installation will take more time than normal. But the disk will be immediately created.
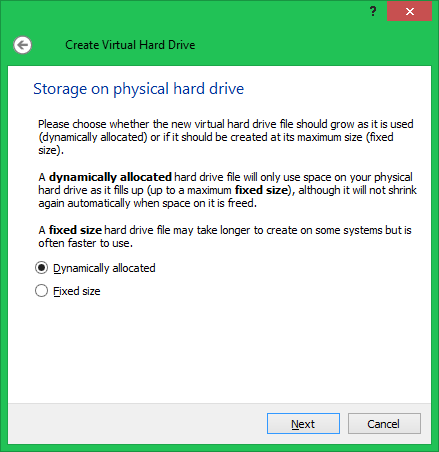
With dynamic, operations will be slower, but as we’re doing this just for illustration purposes, if you have a SATA hard drive I recommend you choose dynamic. Also, by googling, you’ll likely find out that in most cases dynamic works just fine.
On the next screen, as VirtualBox suggests, 8 GB should be enough.
After you click “Create” the virtual disk will be created. If you select “Start” on your virtual machine now, VirtualBox will prompt you for a startup disk.
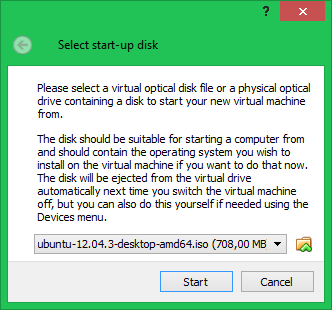
Using this dialogue, you can simply point to the location of the Ubuntu ISO file you downloaded, using the choose a virtual optical disk file button.
HINT: it’s the small one, with a green arrow.
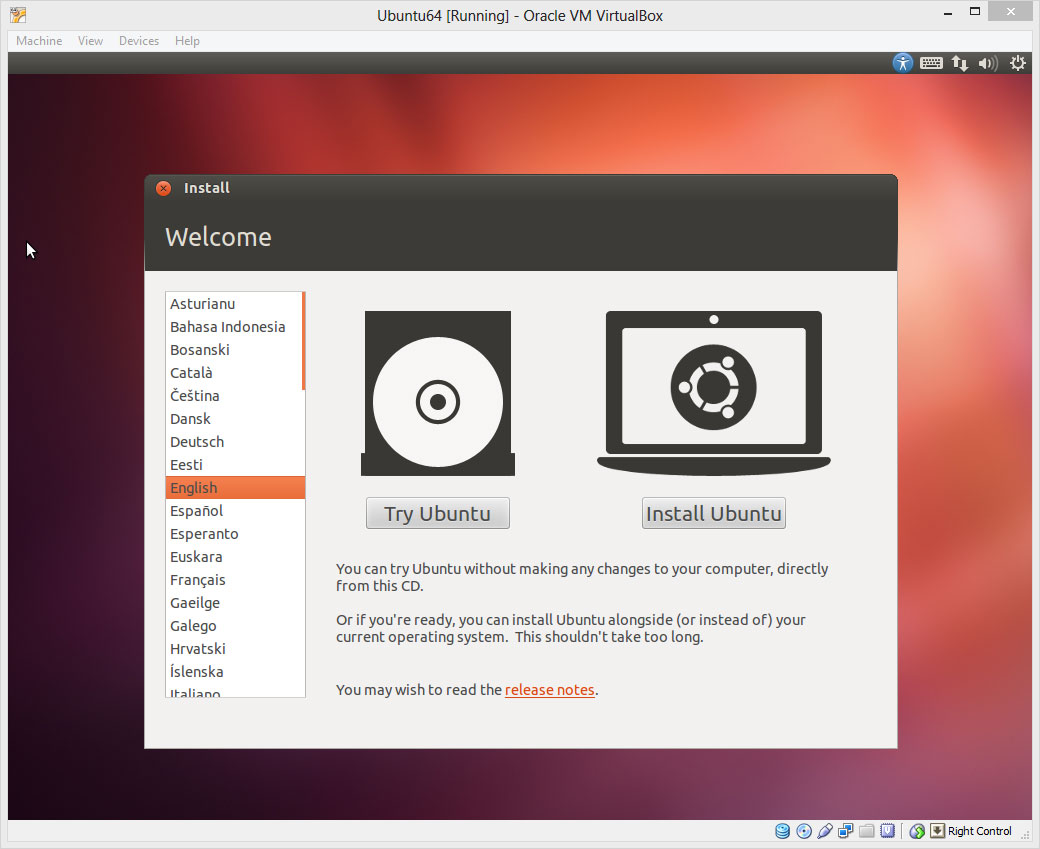
When you select the appropriate ISO file, simply click “Start”.

Ubuntu installation program will detect your virtual hard drive and prompt you to install it there. It will also tell you you don’t have an OS already installed and ask you to erase the disk. As this is the virtual disk we created earlier, feel free to do just that.
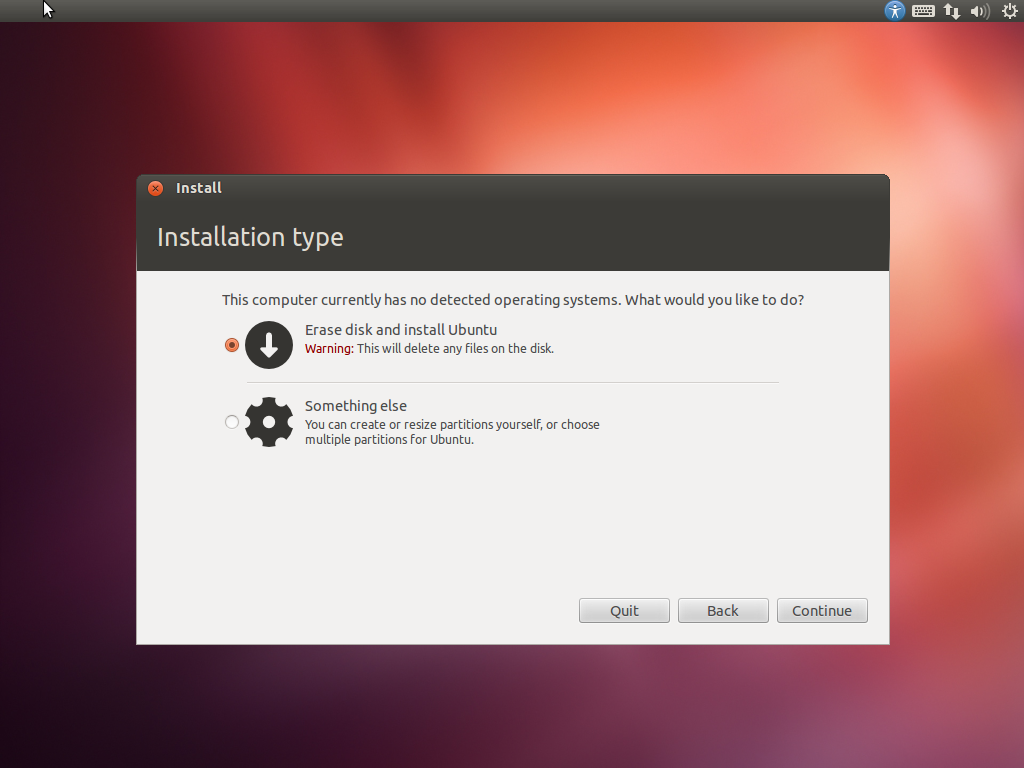
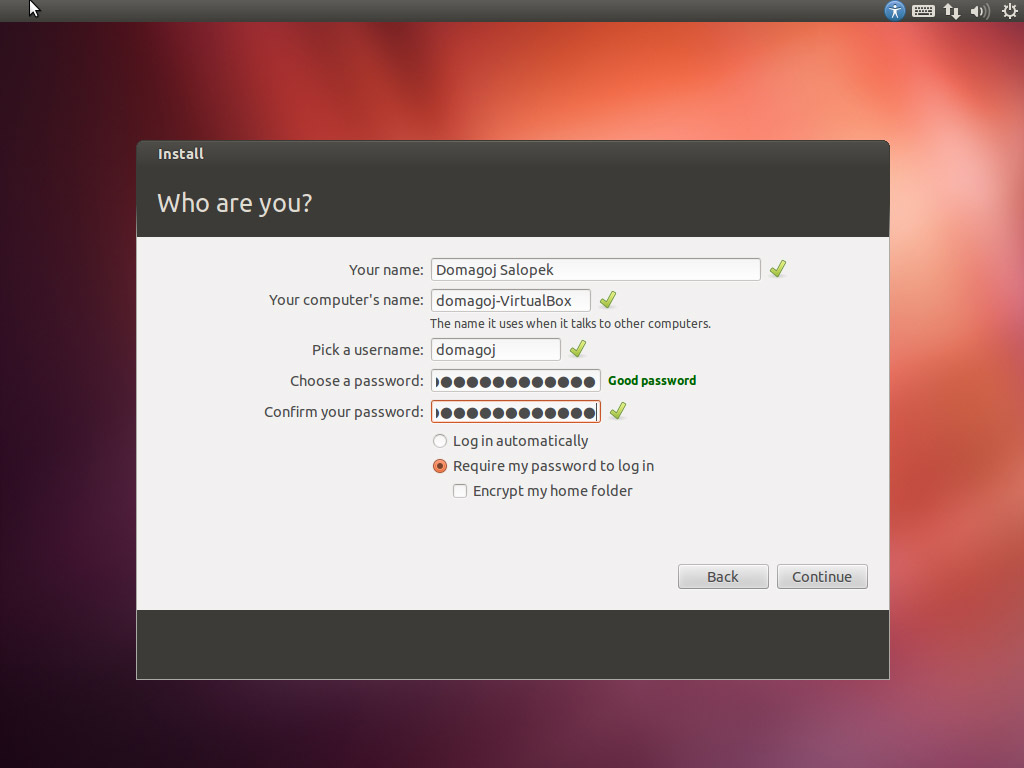
After this, the rest of the installation goes smoothly. Just like installing it on a physical computer. You answer a few questions, set up your keyboards and timezones and basically just wait for it to be installed.
It should be pretty fast as both the ISO file and a virtual hard drive are basically on the same physical drive.
What if the VirtualBox window stops responding after Ubuntu is installed and asks to restart the computer?
If the VirtualBox window with Ubuntu (VM) stops responding when Ubuntu asks you to restart the machine, simply EJECT the ISO image. How to do that?
Well, in the “Devices” menu on the VirtualBox window, there’s a submenu named select “CD/DVD devices…“. From that menu choose “Remove disk from virtual device“. Then FORCE EJECT. After this operation shut down the virtual machine (you can click on the close button and select “Shut down”) and start it again and Ubuntu should load.
[…] have already talked about virtualization a long time ago, in a Post about creating an Ubuntu virtual machine but the basic plot is still the same, so we won’t be going into gritty technical details now. […]