
You tested the Service by running it from Visual Studio with IIS Express and it worked.
However, now when it is deployed to the server and you wish to use it with IIS. You think you have done everything correctly – installed IIS, installed WCF Services, so you confidently try to enter the service address, and … 404.3.
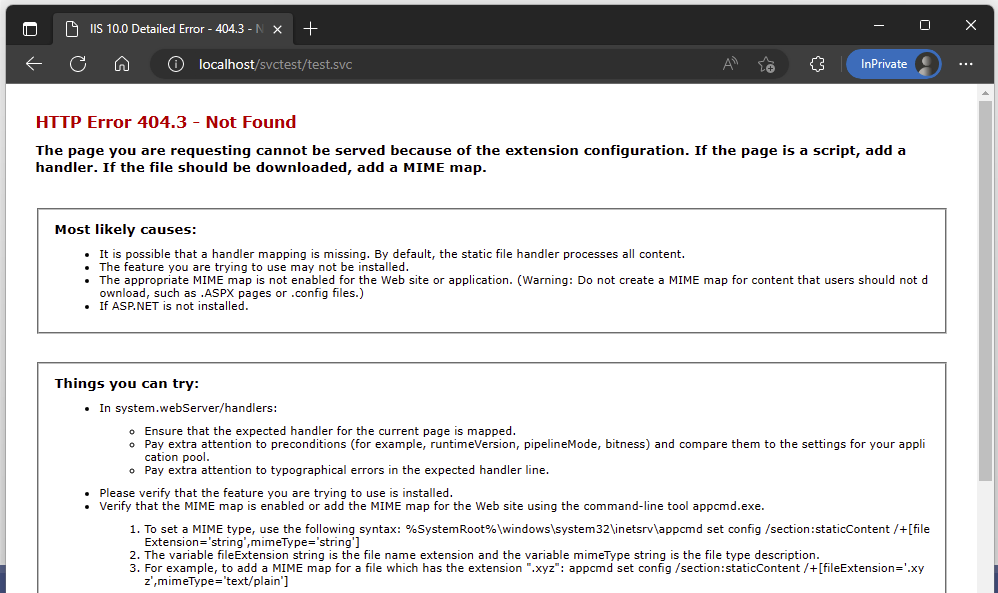
This is one of those errors that make you scratch your head. Sure, the file is there, and maybe even the site where the file is located indicates that ASP.NET is running.
You might even be tempted to go and try all the things that Microsoft says you can try, but luckily there is no need to do all that.
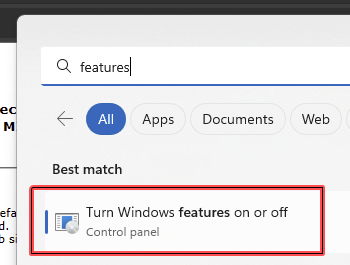
Simply open the dialog to Turn Windows features on or off – there are different ways to do it, so can search for “Windows Features”, for example.
Or you can use the long way around with the Control Panel – Programs – Turn Windows Features on or off.
My favourite way is to press Win+R, then type “appwiz.cpl” and then on the side you will see “Turn Windows Features on or off”. This might be my favourite way because on the Windows 2019 Server you then no longer need to use the Server Manager to do this.
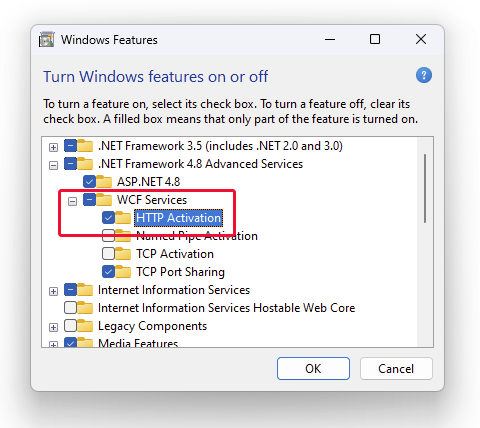
In any case, once th dialogue opens, you need to go to .NET Framework 4.8 Advanced Services – WCF Services and then enable HTTP Activation, like so:
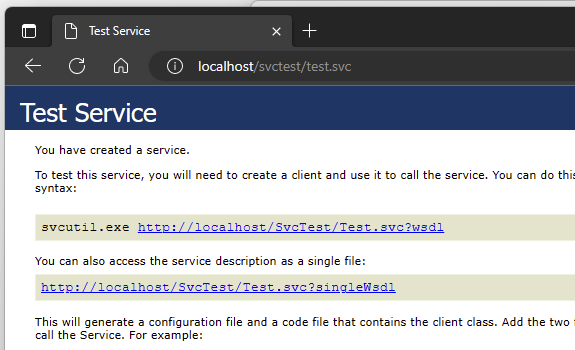
Then, after a few moments, the feature will be installed and your service will hopefully work:
That is it. Hopefully we all learned not only how to solve 404.3 with SVC filel on IIS, but also that it is not always necesarry to play a hacker and jump into the command line. Sometimes, luckily, the solutions are not so difficult.