This blog post will create a simple ASP.NET MVC Site using Entity Framework Core and Identity Framework. And to try to get as close as possible to what is typical on Windows – we’ll be using these technologies together with SQL Server – I mean the next closest thing available on a Mac – Azure SQL Edge inside a Docker Container.
First, of course, you will need to set up an Azure SQL Edge to run inside a Docker Container. For a detailed guide on how to do this, visit our previous post: How to install SQL Server on an Apple Silicon Mac (ARM64)

Let’s get right into it. After you have Azure SQL Edge running inside a Docker Container, you would, of course, create a new ASP.NET project with .NET 7.
Make sure you select Identity for authentication as this gives us a simple yet robust Membership Framework to enable users to log in and register to our site.

By default, the new .NET with Identity Template uses the Sqlite database and appropriately uses Microsoft.EntityFrameworkCore.Sqlite package, which makes sense, as ASP.NET Core is meant to run on all Platforms.
As this Package does not support SQL Server or Azure SQL Edge databases, we will first need to install “Microsoft.EntityFrameworkCore.SqlServer” Package. To do this, under Tool Menu, select “Nuget Package Manager”, then type the Package name to install it.

Now, of course, we will have to modify our Application to actually use this package. To do this, open Program.cs and configure Entity Framework as follows:
// Add services to the container.
var connectionString = builder.Configuration.GetConnectionString("DefaultConnection") ?? throw new InvalidOperationException("Connection string 'DefaultConnection' not found.");

// With the Key differenc from the Template Code being:
builder.Services.AddDbContext<ApplicationDbContext>(options =>
    options.UseSqlServer(connectionString));
Now, we need to adjust the Connection String. You will find it inside the appsettings.json file.
{
  "ConnectionStrings": {
    "DefaultConnection": "Data Source=localhost,1433;Initial Catalog=<DATABASE NAME>;User=<USERNAME>;Password=<PASSWORD>;Encrypt=false"
  }
}
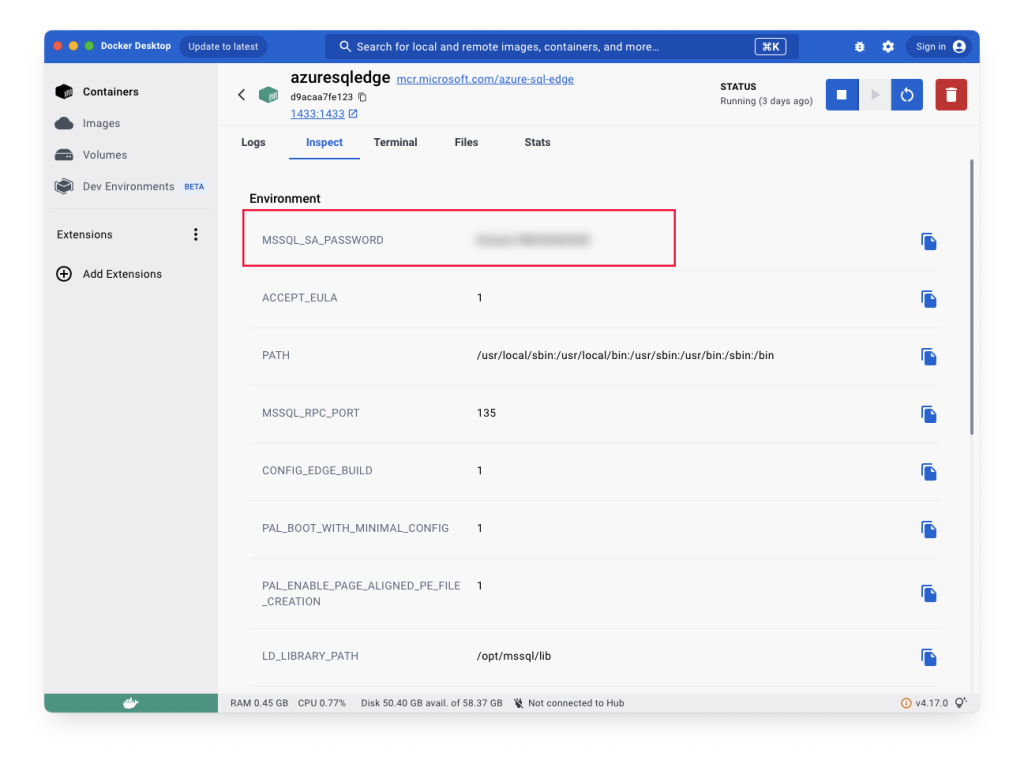
If you are unsure what your Credentials are, ,you can Look ‘sa’ Password using Docker Variables:

Naturally, I hope I don’t have to tell you that this is acceptable only for development, local testing and local proof of concept purposes. We will learn how to configure a different authentication in a future blog post.
If you run the App now and try to register, you will get the following error:
A database operation failed while processing the request.

SqlException: Cannot open database "AzureSQLEdgeTest" requested by the login. The login failed. Login failed for user 'sa'.

Use migrations to create the database
A database needs to be created for the following:

ApplicationDbContext
That means, of course that the database is not there. So, we need to create a Database and an initial Migration, same as you would on Windows.
But, you will say “there’s no Package Manage Console on a Mac”.
But there is a Terminal. And that is all we need. So, stop the execution of the project, then right-click on the Project in Visual Studio and select “Open in Terminal”.
Now, you can use the following commands:
dotnet ef migrations add InitialCreate
dotnet ef database update
The first command will create a Migration named ‘InitialCreate’ and the second will create the Database.
Now, if you get an error while executing the first command, it is probably because Entity Framework Core .NET Command-line Tools are not installed. To remedy this situation, run the following in a terminal:
dotnet tool install --global dotnet-ef
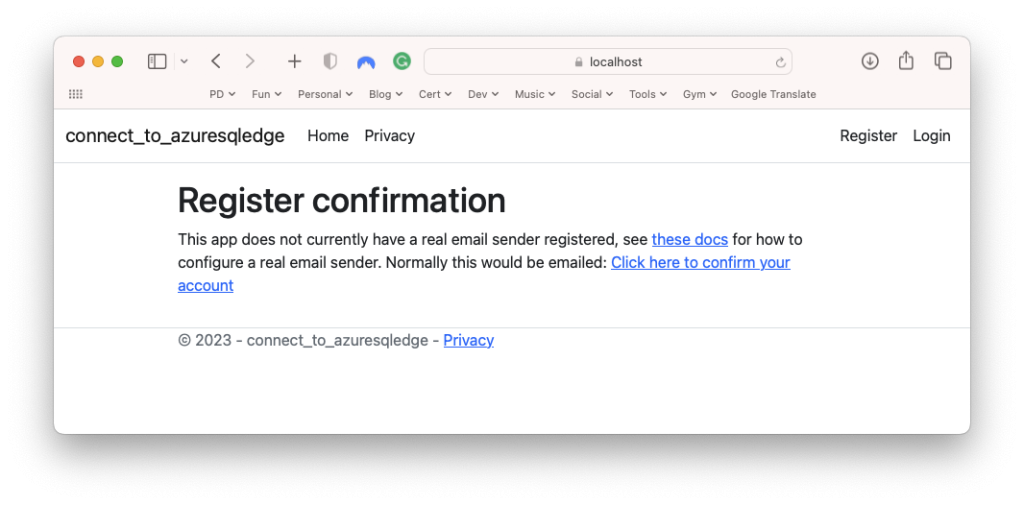
Now run the previous two commands to enable migrations and create the database. Then run the project and you should be able to register for your site:

One other potential problem/error you might have seen is an error message like “Column ‘Id’ in table ‘AspNetRoles’ is of a type that is invalid for use as a key column in an index” when trying to use/create the DB.
This is because you might have been a bit too quick and created a Migration before you adjusted the builder configuration to use SQL Server, so EF created a migration for SQLite.
Remember: you need to first adjust the Program.cs so that the builder looks like this:
builder.Services.AddDbContext<ApplicationDbContext>(options =>
    options.UseSqlServer(connectionString));
Now you can delete all migrations by deleting the Migrations folder and from the top, add a new migration and everything should work:
dotnet ef migrations add InitialCreate
dotnet ef database update
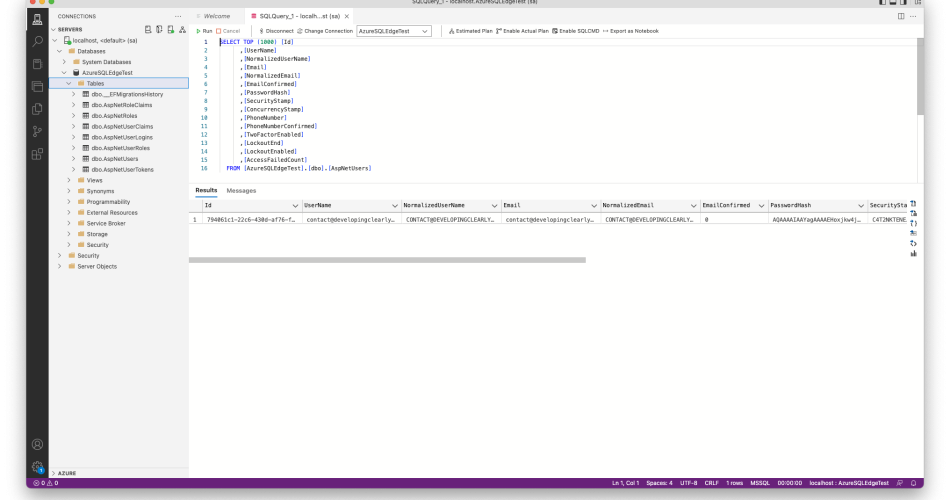
That’s it. We successfully set up the Azure SQL LEdge on a Mac and used Visual Studio to make our first app that connects to it.
Until the next time, happy coding!
